Table of contents
No headings in the article.
If you're just starting with web development, working with forms can be a daunting task. But fear not! In this blog post, we'll go over the basics of working with forms using HTML and CSS only.
First, let's define what a form is. In web development, a form is a way for users to enter and submit data to a website or web application. Forms are an essential part of many websites, as they allow users to sign up, log in, make purchases, and more.
To create a form, you'll need to use HTML. HTML is the markup language that is used to structure the content of a website. To create a form in HTML, you'll need to use the <form> element. This element is used to define the beginning and end of a form. Within the <form> element, you can add different input fields, such as text boxes, checkboxes, and radio buttons, using the <input> element.
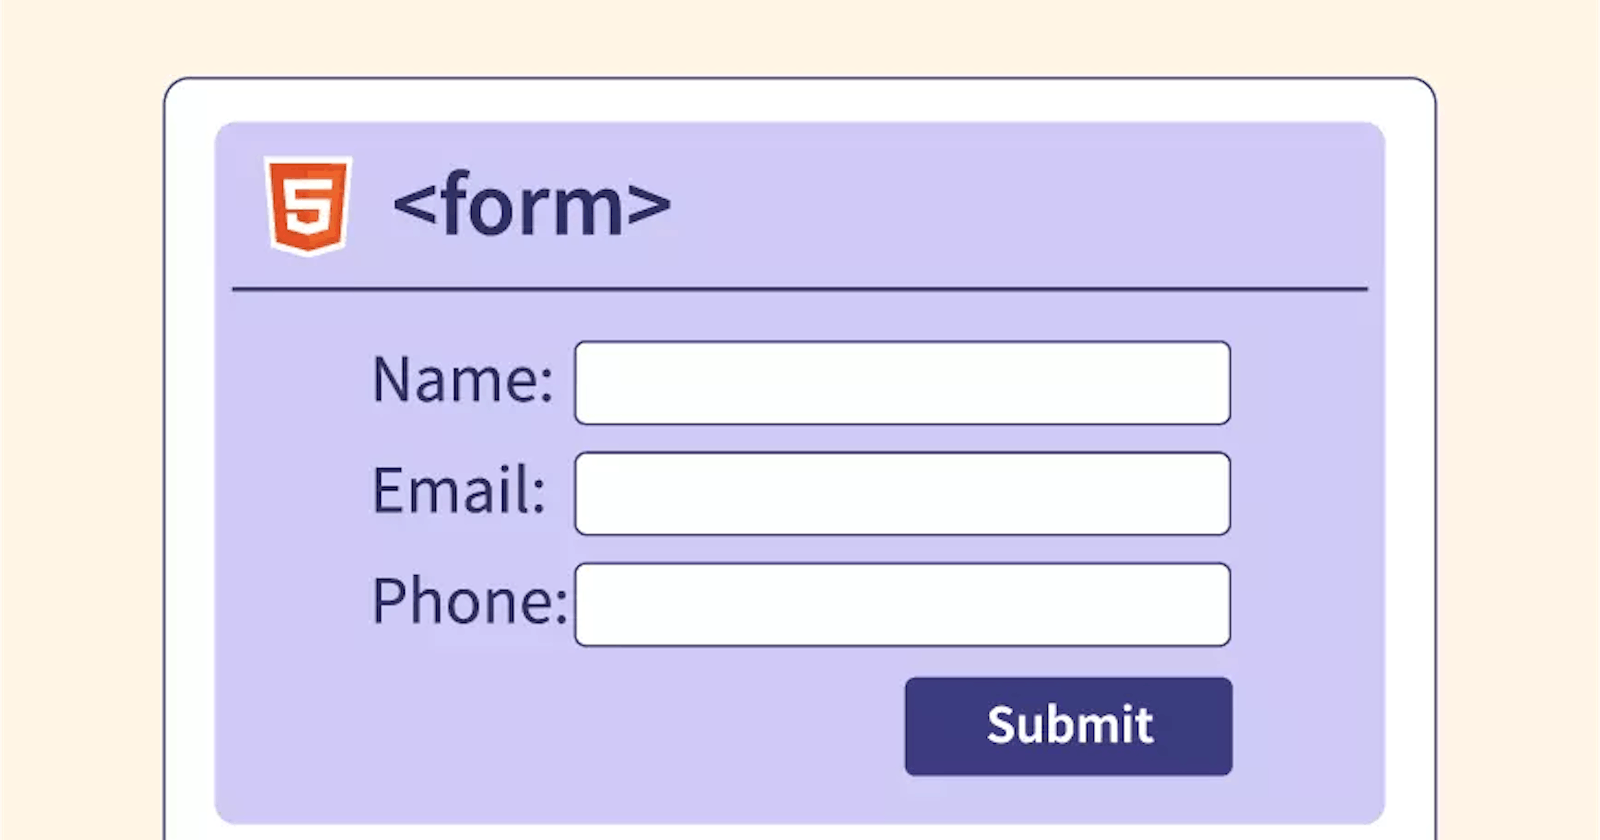
Here's an example of a simple form in HTML:
<form>
<label>Name:</label><br>
<input type="text" name="name"><br>   <label>Email:</label><br>
<input type="email" name="email"><br>
<input type="submit" value="Submit">
</form>
The label element is used to create a label for an input element in a form. It is commonly used in conjunction with text fields, checkboxes, and radio buttons. Here is an example of how to use the label element:
<label for="name">Name:</label>
<input type="text" id="name" name="name" />
In this example, the label element has a "for" attribute that is associated with the input element via its "id" attribute. This allows the user to click on the label to activate the input field. The label element can also be used to provide a descriptive name for a form element, which can be helpful for users who are using assistive technologies such as screen readers.
Many attributes can be used when creating a form using HTML. Some of the common attributes include:
action: This attribute specifies the URL to which the form's data should be submitted.method: This attribute specifies the HTTP method (GET or POST) to be used when submitting the form's data.name: This attribute specifies a name for the form, which can be used to reference the form in JavaScript code.enctype: This attribute specifies the encoding type to be used when submitting the form's data.accept-charset: This attribute specifies the character encodings that are to be used for the form's data.onsubmit: This attribute specifies a JavaScript function to be called when the form is submitted.
Additionally, some attributes can be used on individual form elements, such as type and name for input fields, for and id for labels, and value for buttons.
<form action="/submit" method="POST" enctype="application/x-www-form-urlencoded">
 <label for="name">Name:</label>
 <input type="text" name="name" id="name"><br>
<label for="email">Email:</label>
<input type="email" name="email" id="email"><br>
<button type="submit" value="Submit">Submit</button>
</form>
In conclusion, working with forms in HTML and CSS as a beginner in web development can be a challenging but rewarding experience. By learning and using the various attributes, input types, and styling options available, you can create functional and aesthetically pleasing forms that enhance the user experience on your website.
As you continue to learn and grow as a web developer, you will become more proficient at working with forms and be able to create more complex and dynamic forms that meet the needs of your users.

